
Learning how to complete home improvement projects on your own can be one of the most empowering things you do for yourself as a homeowner. There are lots of small to medium-sized projects that are more than achievable by the average homeowner:
- Painting a room
- Installing a new faucet
- Replacing cabinet hardware
- Sealing gaps around windows
- Cleaning gutters
While it may not be the first project that comes to mind, cleaning your AC filter is also something that you’re capable of doing and should do on a regular basis. In this guide, you’ll learn everything you need to know about how to clean AC filter materials, ensuring your air conditioner runs efficiently and keeps your home comfortable.
1. Gather Your Supplies
Before you start the cleaning process, gather all the necessary supplies. This will make the task smoother and more efficient.
First, you’ll need a vacuum cleaner with a hose attachment. This is essential for removing dust and debris from the filter. Next, have a bucket of warm water mixed with a few drops of mild detergent ready. This solution will help you clean the filter thoroughly. Lastly, have a soft brush or sponge on hand for scrubbing, and a towel for drying.
2. Turn Off the Air Conditioner
Safety should always come first. Before you begin cleaning the air filter, make sure to turn off your air conditioner.
Locate the power switch or circuit breaker for your air conditioning unit. Switch it off to prevent any electrical accidents or damage to the unit while you’re working. If you’re unsure where the power switch is, refer to your air conditioner’s user manual for guidance.
With the power turned off, you can now safely proceed to remove the filter without the risk of electrocution or damaging the internal components of your air conditioner.
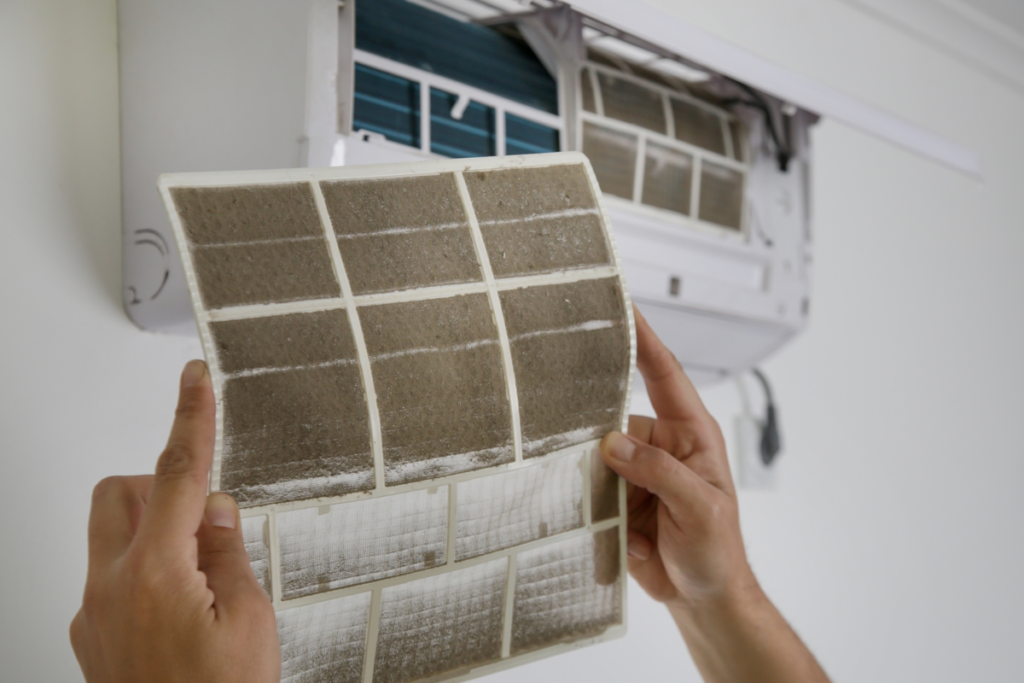
3. Remove the AC Filter
Most air conditioners have a front panel or grille that you need to open to access the filter. Check if your unit has clips, screws, or a sliding mechanism holding the panel in place. Gently open the panel and locate the filter. Carefully slide or lift the filter out of the air conditioner, being cautious not to damage it.
If you’re unsure how to remove the filter, consult the user manual for specific instructions related to your air conditioner model. You should also be able to find a digital copy of the manual online if you don’t have a physical copy.
4. Vacuum the Filter
With the AC filter removed, start by vacuuming it to remove loose dust and debris. Using the hose attachment on your vacuum cleaner, gently run it over the surface of the filter. Make sure to cover both sides to ensure you remove as much dust as possible.
If you don’t have a vacuum cleaner or aren’t confident that you’ll be able to use it without damaging your AC filter, you can also use a soft-bristled brush or cloth to gently wipe off any dust from the filter.
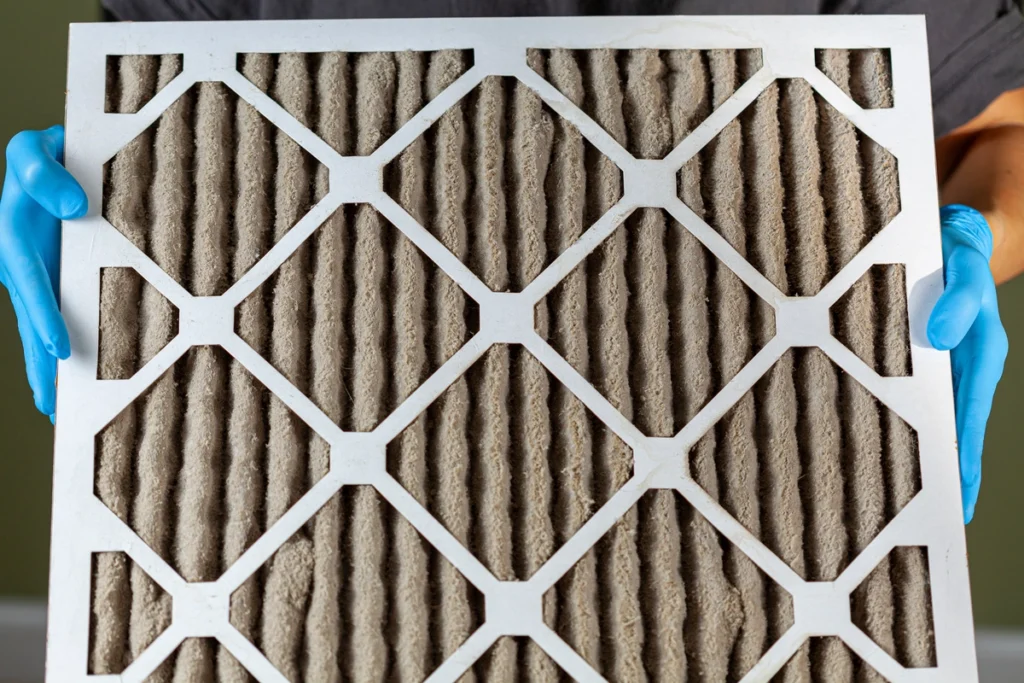
This step is crucial as it helps prevent the filter from becoming clogged, which can reduce the efficiency of your air conditioner. Take your time with this step to ensure you remove all loose particles.
5. Wash the Filter
Submerge the filter in the bucket of warm water mixed with mild detergent. Allow it to soak for about 10-15 minutes. This will help loosen any stubborn dirt stuck to the filter. After soaking, use a soft brush or sponge to gently scrub the filter, paying attention to any particularly dirty areas.
Be careful not to use excessive force, as this could damage the filter. Once you’re satisfied that the filter is clean, rinse it thoroughly with clean water to remove any soap residue.
6. Disinfect the Filter
To ensure your AC filter is thoroughly clean, disinfect it using a vinegar solution.
Create a mixture of equal parts water and white vinegar. Vinegar is an effective natural disinfectant that can help kill bacteria and mold that may be lurking in the filter. Submerge the filter in this solution and allow it to soak for another 15-20 minutes.
After soaking, rinse the filter thoroughly with clean water to remove any remaining vinegar. This step ensures that your filter is not only clean but also free from harmful microorganisms.
7. Dry the Filter
Properly drying the filter is essential before reinstalling it in your air conditioner.
Place the filter on a clean, dry towel and pat it gently to remove excess water. Allow the filter to air dry completely before reinstallation. This could take several hours, so it’s best to plan this task when you don’t need to use your air conditioner immediately.
Ensuring the filter is completely dry will prevent mold growth and maintain the efficiency of your air conditioner.
8. Reinstall the Filter
With your clean and dry filter, it’s time to reinstall it in your air conditioner.
Carefully slide or place the filter back into its original position within the air conditioner. Ensure it fits snugly and securely. Close the front panel or grille and secure it with any clips or screws you removed earlier.
Once the filter is properly reinstalled, turn the power back on to your air conditioner. Your AC is now ready to use, with a clean filter that will help it run more efficiently and provide cleaner air.
Prioritize Your Indoor Air Quality
Cleaning your AC filter regularly is a simple yet crucial maintenance task that can improve the efficiency of your air conditioner and enhance air quality in your home. By following these steps, you can confidently clean your AC filter and enjoy the benefits of a well-maintained air conditioning system.
Remember, if you need professional assistance or have any concerns about your HVAC system, don’t hesitate to contact Palmetto Heating & Air. Our team of experts is ready to help with all your HVAC repair needs. Keep your home comfortable and your air conditioner running smoothly by staying on top of regular maintenance tasks like cleaning your AC filter.