
Imagine coming home on a cold winter evening, excited to relax after a long day. You expect the warm, comforting heat to greet you as soon as you step inside. Instead, you’re met with an uncomfortable chill that seeps into your bones. Your furnace is broken, and now you’re left wondering what to do next.
In addition to a lack of heated air, here are some signs that your furnace is definitely broken:
- Unusual Noises: Loud banging, rattling, or clanging sounds coming from the furnace.
- Uneven Heating: Some rooms are too hot while others are too cold.
- High Energy Bills: A sudden spike in your energy bills without any change in usage patterns.
While it’s best to call a professional to complete this repair task, it can be nice to know exactly what the HVAC repair service will be doing in your home. Here, we break down all the steps that go into a total furnace replacement.
1. Turn Off the Power and Gas Supply
Safety first! Turn off the power to the furnace at the breaker box and shut off the gas supply for gas furnaces. This step is crucial to ensure there’s no risk of electric shock or gas leaks while you’re working.
After ensuring everything is turned off, wait for a few minutes to make sure all residual energy has dissipated. This is also a good time to gather all the tools you’ll need, such as wrenches, screwdrivers, and a multimeter.
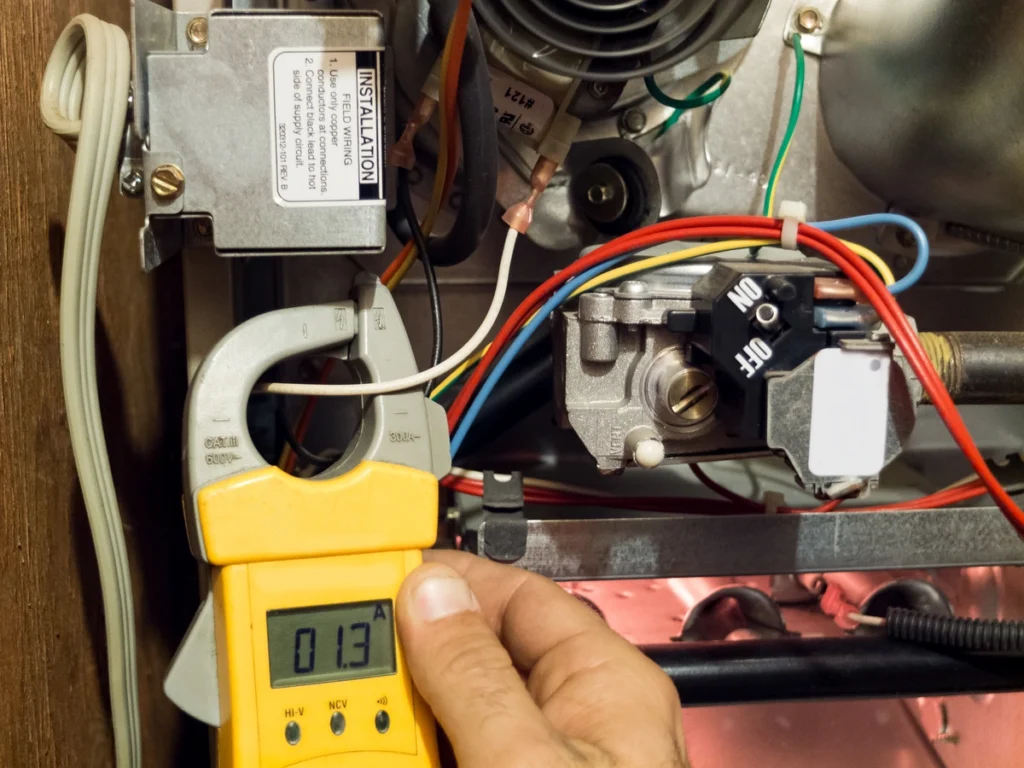
Finally, double-check that the power and gas are indeed off. Use the multimeter to test for any electrical current and sniff around the gas valve to ensure there’s no leakage.
2. Disconnect the Old Furnace
Next, you’ll need to disconnect the old furnace from all its connections. This includes electrical wiring, gas lines, and the ductwork. Start by labeling each wire and connector to make it easier to reconnect later.
Carefully remove the screws and nuts holding the wires in place. Be gentle to avoid damaging any components that you might need for the new furnace.
Once everything is disconnected, you can safely remove the old furnace. Have a helping hand ready, as furnaces can be quite heavy and cumbersome. Depending on the age and condition of the furnace, you may need to disassemble it in smaller pieces for easier removal.
3. Prepare the Installation Area
With the old furnace out of the way, it’s time to prepare the installation area for the new furnace. Clean the area thoroughly to remove any dust, debris, or old insulation. This ensures a clean working environment.
Inspect the area for any signs of wear and tear. Check the ductwork, electrical wiring, and gas lines for any damages that need repair before you install the new unit.
Make any necessary adjustments to the installation area to ensure it fits the new furnace properly. This could include resizing the base or making room for new ductwork. The kind of furnace you choose will determine the amount of work needed for this step.
4. Install the New Furnace
Position the new furnace in the installation area and make sure it’s level. Use a spirit level to check that the furnace is perfectly horizontal, as an uneven furnace can lead to operational issues.
Secure the furnace in place by bolting it down securely. Ensure that it doesn’t move or wobble, which could lead to problems down the line.
Double-check all clearances as per the manufacturer’s specifications. This ensures that your furnace operates efficiently and safely.
5. Reconnect the Wiring and Gas Lines
Now that the furnace is in place, it’s time to reconnect all the electrical wiring and gas lines. Refer to the labels you attached earlier to ensure each wire goes into the correct terminal.
Use a wrench to securely tighten the gas line connections, ensuring there are no leaks. A loose gas line is a safety hazard, so double-check your work.
Reconnect the electrical wiring using wire nuts and secure them with electrical tape. Make sure the connections are tight to avoid any electrical issues.
6. Connect the Ductwork
Connecting the ductwork is a crucial step when installing new furnace systems to ensure your new furnace operates efficiently. Align the new furnace’s duct openings with the existing ductwork.
Use metal tape or screws to secure the ductwork to the furnace. Make sure there are no gaps or leaks, as this can reduce the efficiency of your heating system.
If needed, use flexible duct connectors to bridge any gaps between the furnace and the ductwork. These connectors help absorb vibrations and reduce noise.
7. Perform a Safety Check
Before you turn on your new furnace, perform a thorough safety check. Inspect all connections to ensure they are secure and leak-free.
Use a gas leak detector to check for any potential gas leaks. If you detect any leaks, tighten the connections and recheck.
For an electric furnace, the electrical connections using a multimeter to ensure there are no shorts or loose wires. This step is crucial to prevent any electrical hazards.
8. Test the New Furnace
Finally, it’s time to test your new furnace. Turn on the power and gas supply, and set the thermostat to a high temperature to kick-start the furnace.
Listen for any unusual noises and monitor the furnace’s performance for the first few hours. Make sure the burner ignites and the blower operates smoothly.
Check the airflow from the vents to ensure the furnace is heating your home evenly. If everything looks good, congratulations—you’ve successfully replaced your furnace!
HVAC Repair Made Easy
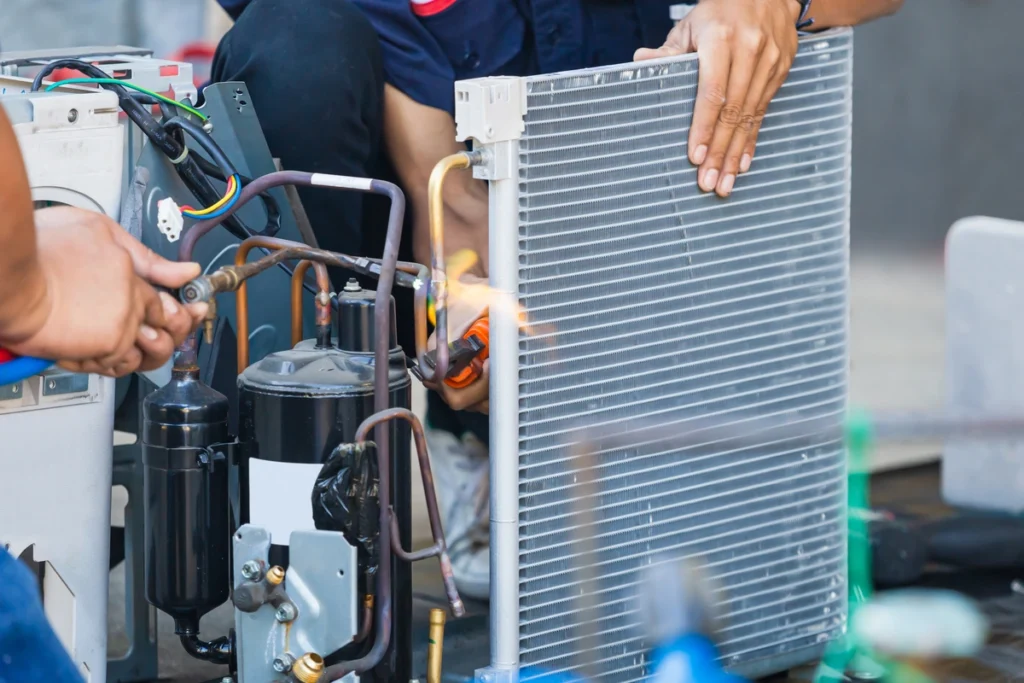
Replacing a furnace is a complex task that involves multiple steps and safety precautions. While it’s always best to call in a professional for such a job, knowing the steps involved can give you peace of mind and help you understand the process better.
If you’re considering getting a new HVAC system, schedule an inspection with Palmetto to talk about your next steps. Our experts are here to ensure your home stays warm and comfortable all winter long.