
Your air conditioning unit works hard to keep your home cool, but over time, dust, dirt, and debris can build up, reducing efficiency and increasing energy costs. Regular maintenance can extend the lifespan of your AC unit, improve indoor air quality, and help prevent costly repairs. In this guide, we’ll walk you through the step-by-step process of cleaning your AC unit to keep it running smoothly.
- Increased presence of allergens and pollutants.
- Higher energy costs due to inefficient operation.
- Reduced lifespan of the HVAC system.
Part of this routine maintenance is cleaning your AC unit regularly. Below, we list out all the steps you’ll need to take to keep your air conditioning in good shape.
1. Turn off the Power
Before you start cleaning your air conditioner, make sure to turn off the power. This step is crucial for your safety and prevents any accidental electrical shocks. Locate the shut-off box near your unit and switch it off. If you can’t find it, turn off the power at your home’s main circuit breaker.
It’s important to ensure that the unit is completely powered down before proceeding. Check by attempting to turn it on after you’ve switched off the power. Double-checking ensures that there is no residual power running through the unit.
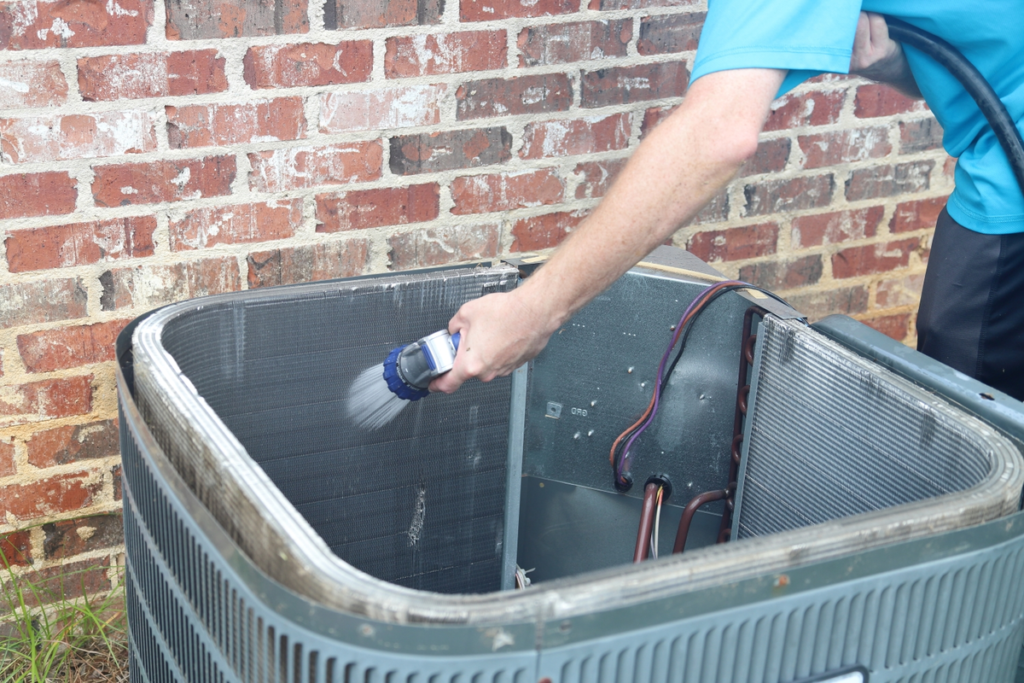
2. Clear Debris
The next step involves clearing any debris from around your outdoor AC unit. Over time, leaves, twigs, and dirt can accumulate around the unit, obstructing airflow and reducing its efficiency. Use a garden rake to clear away larger debris, and then follow up with a broom to sweep away smaller particles.
- Use a soft brush or vacuum with a brush attachment to remove loose debris from the exterior.
- With a hose (not a pressure washer), rinse away any remaining dirt. Avoid using excessive pressure to prevent bending the delicate aluminum fins.
- If the fins are bent, use a fin comb (available at most hardware stores) to gently straighten them out.
Why This Matters: Clogged condenser fins force the system to work harder, leading to higher energy bills.
3. Remove and Clean the Fan Cage
To access the interior of your AC unit, you’ll need to remove the fan cage. Use a screwdriver or wrench to remove the screws or bolts securing the cage to the top of the unit. Carefully lift the cage off and set it aside.
Once the fan cage is removed, clean it thoroughly. Use a brush or vacuum to remove any dust and debris that has collected on the blades. Cleaning the fan cage ensures better airflow and improves the unit’s overall efficiency.
4. Clean the Fins
The fins of your AC unit play a crucial role in heat exchange, so keeping them clean is essential. Use a soft brush or vacuum with a brush attachment to gently clean the fins. Be cautious not to bend or damage them during the cleaning process.
Ensure that the fins are completely dry before proceeding to the next step. Properly cleaned fins improve the unit’s efficiency and help maintain optimal indoor air quality.
5. Straighten Bent Fins
Bent fins can obstruct airflow and reduce the efficiency of your AC unit. Use a fin comb, which is specifically designed for this purpose, to straighten any bent fins. Gently run the comb through the fins, aligning them properly.
If you don’t have a fin comb, you can use a butter knife or similar tool, but exercise caution to avoid causing further damage. Straightening the fins allows for better airflow and enhances the unit’s cooling capacity.
6. Clean the Area Around the Unit
A clean environment around your AC unit contributes to its efficiency. Trim any bushes or plants that are within two feet of your outdoor unit. This clearance ensures adequate airflow and prevents debris from accumulating around the unit.
Additionally, check for any structures or objects that might obstruct airflow and relocate them if necessary. Maintaining a clear space around the unit allows for better heat exchange and reduces the risk of overheating.
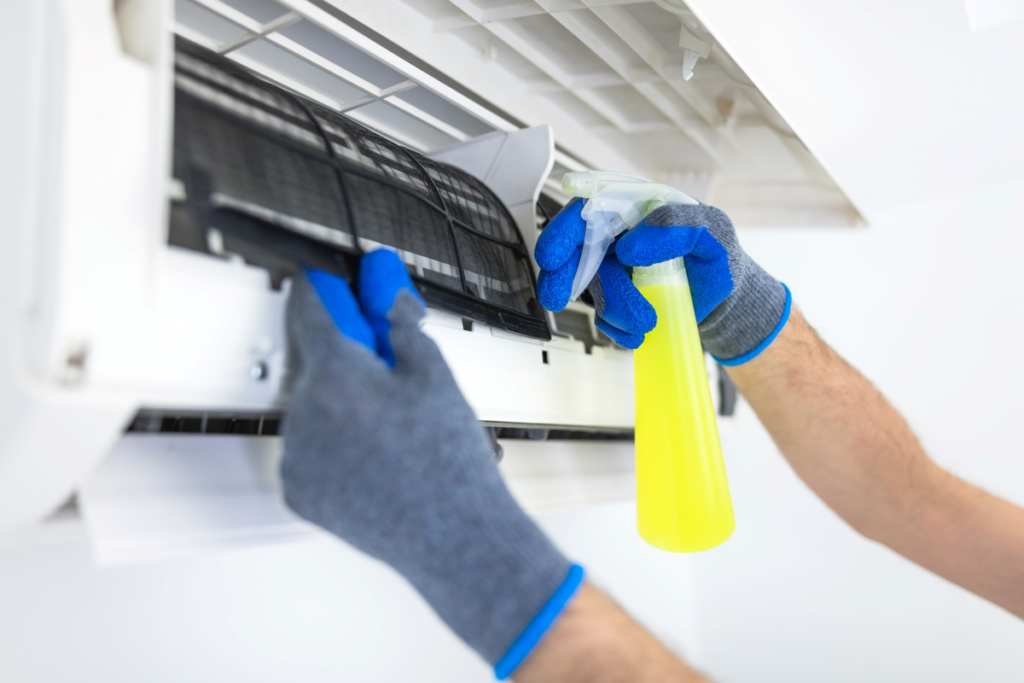
7. Clean the Evaporator Coil
The evaporator coil absorbs heat inside your home, and over time, it collects dust and grime, reducing efficiency.
How to Clean It:
- Gently wipe with a microfiber cloth if necessary.
- Locate the coil – It’s usually behind an access panel on the indoor unit.
- Use compressed air to blow away loose dirt.
- Apply a no-rinse coil cleaner (available at home improvement stores). Spray it on the coil and let it foam up, dissolving dirt and grime.
8. Change the Air Filter
One of the simplest yet most effective steps in maintaining your AC unit is regularly changing the air filters. A dirty air filter restricts airflow and reduces the unit’s efficiency. It can also lead to poor indoor air quality by circulating dust and allergens.
Check your unit’s user manual to locate the air filter compartment. Remove the old filter and replace it with a new one of the same size and type. Generally, it’s recommended to change the filter every 1-3 months, depending on usage and air quality.
Expert Tip: Use a MERV 8-12 filter for a balance between airflow and filtration efficiency.
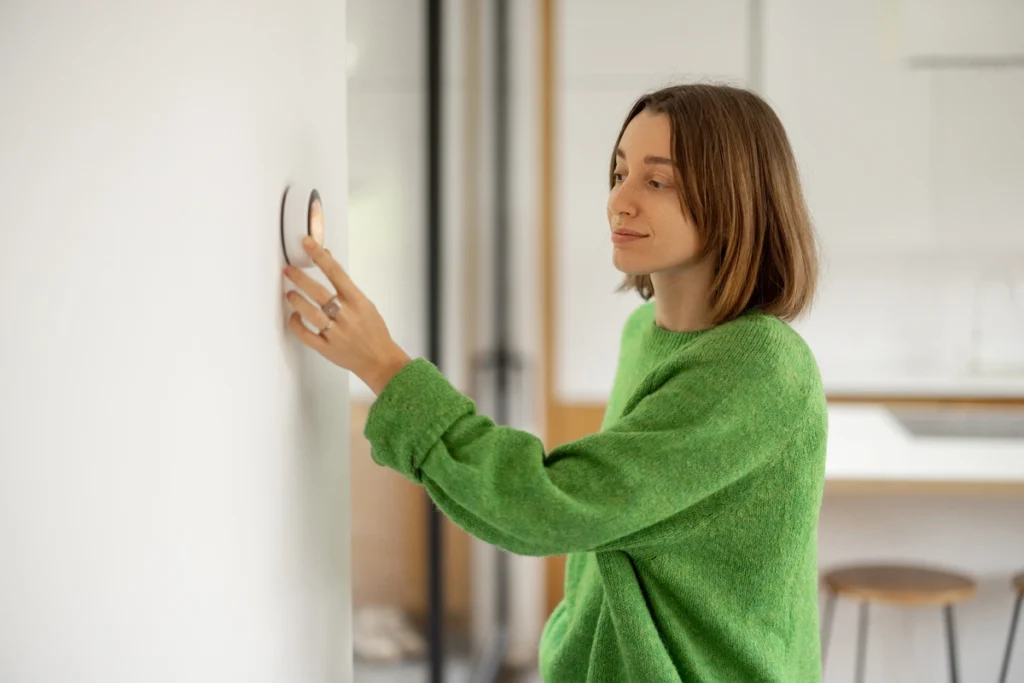
9. Check the Thermostat
Once you’ve cleaned everything, it’s time to turn the power back on and test your system.
- Restore power at the disconnect box and circuit breaker.
- Set your thermostat to “cool” mode and lower the temperature.
- Listen for unusual noises and check airflow from the vents.
- Ensure your AC is cooling efficiently.
Troubleshooting Tip: If your system doesn’t turn on, double-check the power connections and thermostat batteries.
10. Schedule Professional Maintenance
While regular DIY maintenance is essential, it’s also crucial to schedule professional maintenance for your air conditioning unit. HVAC professionals have the expertise and tools to perform thorough inspections and address any potential issues before they become major problems.
Consider scheduling a professional maintenance check at least once a year, preferably before the cooling season begins.
Common AC Cleaning Issues and How to Fix Them
Even with regular maintenance, you may encounter some common cleaning challenges when servicing your AC unit. Below are the most frequent issues and step-by-step solutions to keep your system running efficiently.
1. Stubborn Dirt on Coils? Here’s How to Remove It
Dirt and grime buildup on the evaporator or condenser coils can reduce efficiency and cause your AC to work harder. If a simple rinse doesn’t do the trick, follow these steps:
Solution:
- Use a soft-bristle brush: Gently scrub the coils to dislodge debris. Avoid using excessive pressure to prevent damage to the delicate fins.
- Apply a cleaning solution: Mix mild detergent with warm water and spray it onto the coils. Let it sit for a few minutes to break down the grime.
- Rinse thoroughly: Use a gentle stream of water to wash away dirt, ensuring no residue is left behind.
Pro Tip: If dirt buildup is excessive, consider using a foaming coil cleaner designed specifically for HVAC systems.
2. Clogged Condensate Drain? Clear It Before It Causes Water Damage
A clogged drain line can lead to water leaks and humidity issues inside your home. If you notice water pooling around your indoor unit, your drain line may be blocked.
Solution:
- Use a wet/dry vacuum: Attach the vacuum to the end of the drain line (usually located outside) and let it run for a minute to clear any debris.
- Try compressed air: Blow air through the drain line from the indoor unit side to push out the blockage.
- Flush with a vinegar solution: Pour a cup of distilled white vinegar into the drain line to help break down any algae buildup and prevent future clogs.
Pro Tip: Regularly flushing the condensate drain with vinegar can help prevent mold and bacteria growth inside the line.
3. Frozen Evaporator Coils? Prevent a Full System Shutdown
If your AC unit stops cooling properly and you notice ice forming on the evaporator coils, it’s a sign of airflow restriction or low refrigerant levels.
Solution:
- Turn off the AC: Allow the ice to completely thaw before attempting any repairs. Running the AC with frozen coils can cause severe damage to the compressor.
- Check the air filter: A dirty filter can restrict airflow, causing the coils to freeze. Replace it if it looks clogged with dust.
- Inspect vents and ducts: Make sure all supply and return vents are open and unobstructed to maintain proper airflow.
- Look for refrigerant issues: If the problem persists, you may have a refrigerant leak. Contact a professional HVAC technician to inspect and refill the system if needed.
Pro Tip: Keeping your air filters clean and checking for airflow restrictions regularly can help prevent coil freezing and costly repairs.
Expert AC and HVAC Service
Regular maintenance is key to keeping air conditioners running smoothly and maintaining good indoor air quality. By following these steps, you can ensure that your system operates efficiently and provides a comfortable environment for your home.
If you’re looking for professional servicing of your home AC system, consider hiring Palmetto Heating & Air. Our experienced technicians are dedicated to providing top-notch service and ensuring your HVAC system operates at its best. Contact us today to schedule your maintenance check and enjoy the benefits of a well-maintained AC unit.